WebAssembly with Nim

You’ve probably already heard of Nim. It’s a modern language with a syntax that will remind you a bit of Python, but it’s both statically typed and compiled. It supports multiple programming styles (functional, object-oriented, metaprogramming, and message passing to name a few) and provides optional tunable garbage collection.
It produces extremely fast and efficient code, making it a great fit for embedded systems and other environments where resources are tight. Couple this with its ability to be compiled into C code, and it’s a natural fit for Internet-of-Things (IoT) work, one of our specialties.
In this post I’m going to look at a different use for it. The same qualities that make it a good choice for IoT projects also make it a good choice for many Web projects. The introduction of WebAssembly (WASM) makes this possible.
Just as you’ve probably heard of Nim, you’ve probably heard of WebAssembly. It’s a new technique for getting nearly native levels of performance out of the Web stack. Essentially it’s a sort of hardware-neutral assembly language for the Web; a low-level language with a terse binary form optimized for fast loading, fast starting, and fast running, at the expense of easy composition. To make it easier for humans to write WASM, C, C++, and Rust compilers have been written that will compile into WASM rather than typical hardware-specific assembly.
The option of Nim to C output opens up the door to using it to create WASM code as the Emscripten LLVM compiler supports compiling C into WASM. I’ve been tinkering with compiling Nim into WASM off and on for almost a year now and will provide some basic working examples to show one method of making it work that you can take and build upon. My approach here is likely not the only way to make it work (see the NLVM project for an LLVM compiler for Nim or the NWAsm project for an experimental WASM back-end for Nim), and I’m hardly the only one to be compiling Nim into WASM (I spotted this forum entry by Lando after independently doing the work, and I’ve since adopted some of his configuration changes as they’re cleaner than my original ones). New Nim / WASM resources are showing up all the time now, too.
I’ll be assuming a Linux build environment. This isn’t too big of a restriction; in fact, I’ve included a Vagrantfile here that will enable you to easily use Vagrant to make a self-contained VirtualBox virtual machine (VM) that will let you run a properly outfitted development environment without messing up your global system configuration, regardless of whether you’re using Linux, macOS, MS-Windows, or something more exotic. If you’ve never done it before, it comes down to installing both VirtualBox and Vagrant, cloning a copy of my nim-wasm-helpers git repository and running Vagrant in the resulting folder via:
> git clone https://github.com/Feneric/nim-wasm-helpers.git
> cd nim-wasm-helpers
> vagrant up
and waiting awhile. How long? Seriously, go get yourself a cup of tea after kicking this off. It’ll spit out a lot of output too, mostly green, quite a bit of gray and some white, yellow, and cyan, but hopefully not too much red (a couple lines, one about dpkg-preconfigure and one about creating a symlink are expected to be red). The end result is that you should have a new VM running locally in which you can work that you can log into via the vagrant ssh command. This VM will be running Bodhi Linux and have appropriate versions of both Nim and Emscripten installed for you. They will be configured correctly for compiling Nim into WASM. This installation and configuration is over half of your battle, so taking advantage of this pre-built environment will save you quite a bit of time.
You’ll want to go into your new VM and make a work folder for your first Nim / WASM project; you can call it whatever you want. My setup includes one called Samples. Anything placed under the /vagrant folder on the VM (like my Samples folder) is automatically shared with your host machine, making editing files in it easy via your preferred editor. For convenience you may also want to use a Makefile that can generically compile Nim code into WASM. I’ve included one here for you to make things extra easy.
You should now be able to make a basic Nim program and compile it into WASM. Here’s a trivial “hello world” program you can try:
echo "Hello world from Nim!"
It’s included in my samples as hello.nim. Using the Makefile I provided, compiling this to run as a script should be as easy as:
> make hello
and running the resulting program as easy as:
> ./hello
but of course we’re not really trying to make a console program here, we want WebAssembly! With the setup in place, getting WASM output isn’t much more difficult:
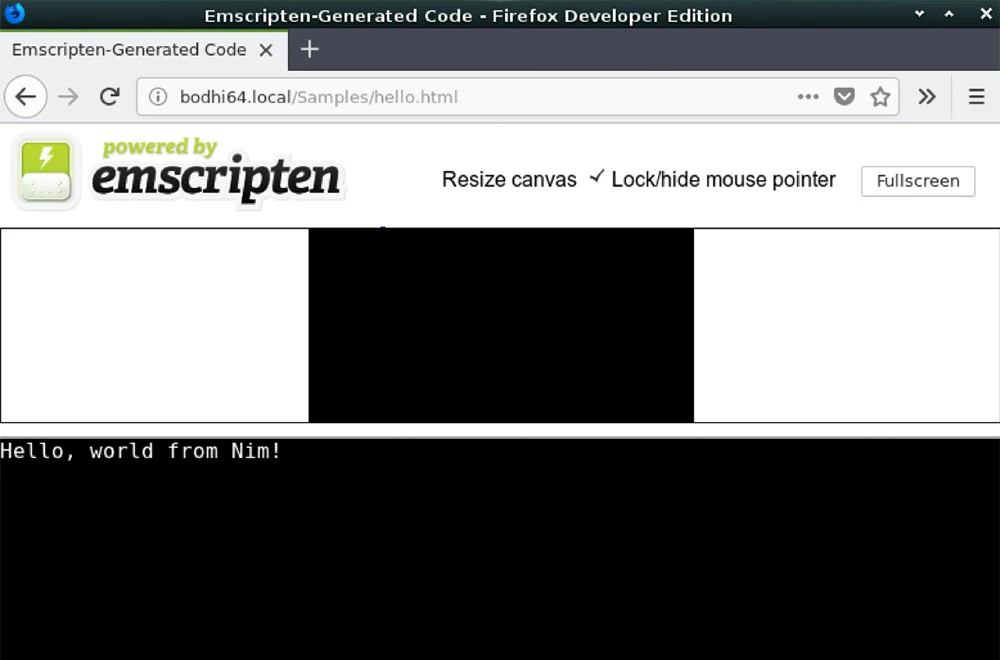
> make hello.html
and open it in your browser.

If your system supports mDNS / Avahi / Bonjour you can reference the VM via the bodhi64.local name.
See how easy that was? Nim is an expressive language so one line is all it takes to create the old classic. With the Makefile in place building takes just a single line, too. It isn’t necessary to do the console build first, although it sometimes helps with debugging.
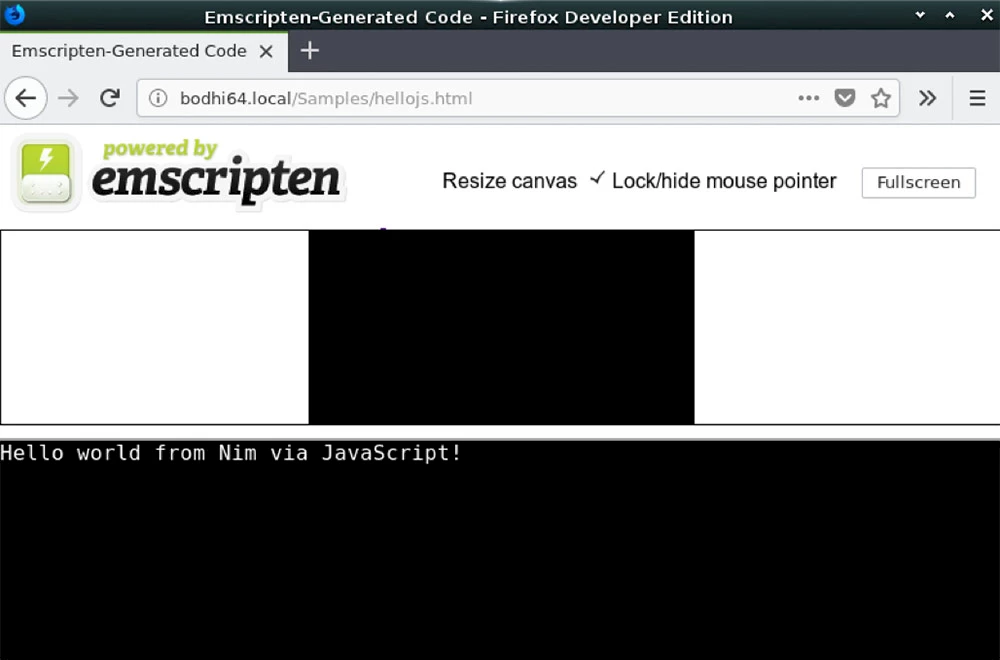
Here’s one more variation on the “hello world” theme. This one uses WASM to call JavaScript in order to modify the DOM. Note that at present the only way to access the DOM in WASM is via JavaScript calls, so you’d extrapolate this technique for any DOM manipulation you need to perform.
proc emscripten_run_script(scriptstr: cstring) {.header: "<emscripten.h>",
importc: "emscripten_run_script".}

emscripten_run_script(
    "document.getElementById('output').value='Hello world from Nim via JavaScript!';"
)
This example is a little bit more complicated than the last one. There are two key points to note: the first is that emscripten_run_script() is a typical way provided by Emscripten of running JavaScript code within WASM, and the second is that the initial proc line is what tells the Nim compiler where to get its definition and how to call it. Building it is similar to before; using my sample Nim file hellojs.nim, the command line:
> make hellojs.html
will build it.

While this example uses vanilla JavaScript only, there is nothing preventing you from using React or MooTools or jQuery or whatever. This following example uses the Dojo Toolkit. It’ll be necessary to download the Emscripten bare-bones HTML file, modify it, and use it as a template. To do so, the following lines could be executed within the VM:
> curl https://raw.githubusercontent.com/kripken/emscripten/master/src/shell_minimal.html > /tmp/template.html
> sed 's/<script/<script src="https:\/\/ajax.googleapis.com\/ajax\/libs\/dojo\/1.13.0\/dojo\/dojo.js"><\/script>\n    <script/' /tmp/template.html > template.html
Each line should be entered as a single command, regardless of how it is displayed above. Also, while the sed command is used here to make copying and pasting from this blog post easier, in practice you’ll likely do these sorts of edits with an interactive editor. You can edit this template file pretty much however you want.
You’d also need to add the following special entry to your Makefile to force the inclusion of your new template for the building of this new file; just add these two lines to the bottom, and ensure to use a tab at the beginning of the second line:
hellodojo.html: hellodojo.nim
        $(NIM) c -d:emscripten -l:"--shell-file template.html" -o:$@ $(NIMFLAGS) $<
Finally you’ll need a hellodojo.nim file to get built. The following will do the trick:
proc emscripten_run_script(scriptstr: cstring) {.header: "<emscripten.h>",
importc: "emscripten_run_script".}

emscripten_run_script(
    "require(['dojo/dom'],function(dom){dom.byId('output').value='Hello world from Nim via JavaScript with Dojo!';});"
)
Obviously this can get unwieldy fast. Best practice is to keep the Nim and JavaScript in separate source files as much as possible. To save you copying & pasting, I’ve done all the work for you and created a special Makefile called specific.mk with the proper customizations along with a Nim source file called hellodojo.nim. All you need to do is execute the:
> make -f specific.mk hellodojo.html
command, and it’ll do all the template fetching and editing as well as the compilation.
Now that you’ve got the basics down, you should be able to play around with Nim and WASM. There’s a lot more to the topic than what I’ve covered here. If there’s enough interest, I may revisit it in future posts. In the meanwhile if you’d like to learn more about Nim, I’d point you to the excellent online Nim documentation. Likewise, if you’d like to learn more about WASM, I’d point you to the Mozilla Developer Network WebAssembly resources.
