Developing for Microsoft’s HoloLens
This article will discuss a few technical issues we faced while developing the Hololens brain demo that was introduced on this page.Microsoft’s decision to team up with Unity has really made life much simpler for Hololens developers. With a bit of Unity knowledge, you can get going very quickly.

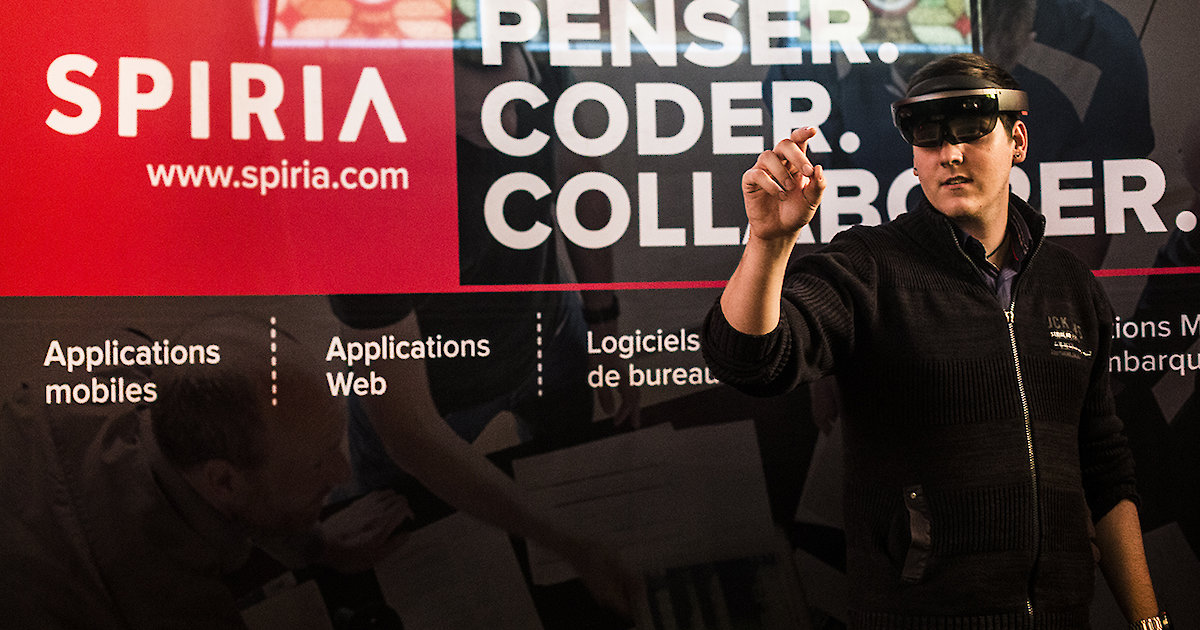
<p>This article will discuss a few technical issues we faced while developing the Hololens brain demo that was introduced on <a href="https://www.spiria.com/en/blog/geek-culture/hololens-demo-brain/">this page</a>.</p> <div></div> <p>Microsoft’s decision to team up with Unity has really made life much simpler for Hololens developers. With a bit of Unity knowledge, you can get going very quickly.</p> <p>However, there are a few surprises in store for newcomers to augmented or virtual reality apps. Many of the issues we faced while creating this demo had to do with the UI, which requires a very different approach from regular Unity apps.</p> <p>Thanks to the cross-platform nature of Unity, most other capabilities like physics, animation and lighting don’t require specific changes for Hololens.</p> <p>There are a few steps to actually get your Unity application onto the Hololens device: export the Visual Studio solution from Unity, build the Visual Studio solution, and deploy the resulting package to either the emulator or the actual device.</p> <p>While iterating we tried to do most of the development in Unity. We built a second scene that mimics the final Hololens scene. In the development scene, we were able to quickly fix scripts and animations without wasting time exporting to the device. We used a different camera and input script for the development scene. We used a first-person player controller, a basic environment with planes to simulate a room and a different input script to replace the gaze functionality that is only available on the emulator or the Hololens device.</p> <div> <div> <p><img src="https://cdn.prod.website-files.com/67c06f07cfba9b0adb43e16c/68470656a389942abe2ae9ee_hl_debug_scene_2.webp" alt="decorative" /><br /><em>Simple Environment</em></p> </div> <div> <p><img src="https://cdn.prod.website-files.com/67c06f07cfba9b0adb43e16c/6847065a439a2a19ef276276_hl_debug_scene.webp" alt="decorative" /><br /><em>Brain Objects Close-Up</em></p> </div> </div> <h2>UI Issues</h2> <h3>Reticle a.k.a Crosshair</h3> <p>Microsoft provides excellent tutorials for the beginning Hololens developer. In the <a href="https://developer.microsoft.com/en-us/windows/holographic/holograms_101">101 tutorial</a> they provide scripts for using a special cylindrical cursor which they orient to be perpendicular to the surface aimed by the user.</p> <p>This could be useful depending on the application type, but for our purposes we wanted a more traditional overlay-style cursor that stays fixed in the centre of the screen.</p> <div> <div> <p><img src="https://cdn.prod.website-files.com/67c06f07cfba9b0adb43e16c/6847065d4f06d76dfc2cb96b_hl_reticle.webp" alt="decorative" /><br /><em>Dynamic Reticle</em></p> </div> <div> <p><img src="https://cdn.prod.website-files.com/67c06f07cfba9b0adb43e16c/6847065fe2b570d7a6403ddf_hl_fixed_cursor_0.webp" alt="decorative" /><br /><em>Fixed Cursor</em></p> </div> </div> <p>All right – piece of cake: “Let’s use a Unity UI image in overlay mode”. Unfortunately, you quickly realize that Unity UI in overlay mode simply does not show up on the device.</p> <p>Our second attempt was to place a disc facing the user. The disc was added as a child game object of the camera so that it would always stay in front of the user no matter where the user looked.</p> <p>This is where we hit a basic fundamental difference with virtual and augmented reality apps. The visual effect of this setup is very uncomfortable. It’s like putting a quarter a few inches in front of your face and trying to keep both it and the background in focus at the same time.</p> <p>It doesn’t work. You need the disc to be far enough to avoid this unpleasant effect.</p> <p>The next step was to move the disc towards the raycast hit location. The problem was that moving the disc made it shrink. The solution to this was to scale the disc according to its distance from the camera to keep the perceived size as fixed.</p> <pre><code>var headPosition = Camera.main.transform.position;var gazeDirection = Camera.main.transform.forward;RaycastHit hitInfo;if (Physics.Raycast(headPosition, gazeDirection, out hitInfo)){ Vector3 hitRay = hitInfo.point - headPosition; Vector3 headOffset = gazeDirection * distanceToObject; if (headOffset.sqrMagnitude > hitRay.sqrMagnitude) { headOffset = hitRay; } transform.position = headPosition + headOffset; float rayLength = headOffset.magnitude; transform.localScale = new Vector3(rayLength, rayLength, rayLength);}</code></pre> <h3>Text Bubbles</h3> <p>The next issue we had to deal with was how to display text bubbles for the user. The same strategy was used because, once again, it would be uncomfortable for the user to have the text overlay right in front of the camera. We used world coordinates for the UI panels and text. The only particularity is that they have a script that implements billboard behaviour, which keeps these game objects facing the user at all times.</p> <p>These info bubbles point to specific regions of the brain. A simple scaled ramp object from the standard prototype package was flattened and positioned at 90 degrees next to the text panels to create an arrow effect. The origin of the combined game object containing the arrow and the text panels is set at the pointy end and the game object simply gets moved to the brain part’s origin in a script.</p> <div> <div> <p><img src="https://cdn.prod.website-files.com/67c06f07cfba9b0adb43e16c/68470663a389942abe2af318_hl_info_bubble.webp" alt="decorative" /><br /><em>Text Bubble</em></p> </div> </div> <h3>Buttons</h3> <p>Another limitation we found was linked to button interaction, which is usually very easy to do with Unity. Ultimately, we implemented our own focus events to change the move button’s state when the user gazed at it. Microsoft provides a Unity interaction script for UI <a href="http://forum.unity3d.com/threads/unity-ui-on-the-hololens.394629/">here</a> that may be helpful if you need scroll bars and/or sliders in your app.</p> <p>So UI requires a very different approach for virtual reality apps, and after reading a bit about it, I think there are many best practices left to discover in this area. UX designers, the field is yours for the taking!</p> <h2>Rendering</h2> <p>Next up, let’s briefly discuss adding transparency to the model. The problem here was that the transparency mode of the standard Unity shader caused some strange artifacts on the device. This was caused by the overlapping objects of the brain. Here is the general shader transparency mode change script we had tried.</p> <pre><code>private void EnableFadeMode(Material material){ material.SetInt("_SrcBlend", (int)UnityEngine.Rendering.BlendMode.SrcAlpha); material.SetInt("_DstBlend", (int)UnityEngine.Rendering.BlendMode.OneMinusSrcAlpha); material.SetInt("_ZWrite", 0); material.DisableKeyword("_ALPHATEST_ON"); material.EnableKeyword("_ALPHABLEND_ON"); material.DisableKeyword("_ALPHAPREMULTIPLY_ON"); material.renderQueue = 3000;}</code></pre> <p>We ended up using the Unity legacy transparent shader and packaging that with the app. Unity settings to do this are well hidden. You must go to <em>Edit -> Project Settings -> Graphics -> Always Included Shaders</em>. When fading the brain parts we dynamically switch the shader of each part’s material to the legacy transparent shader.</p> <div> <div> <p><img src="https://cdn.prod.website-files.com/67c06f07cfba9b0adb43e16c/684706654f06d76dfc2cbf61_hl_standard_shader.webp" alt="decorative" /><br /><em>Standard Shader</em></p> </div> <div> <p><img src="https://cdn.prod.website-files.com/67c06f07cfba9b0adb43e16c/6847066827510e29db88cdc3_hl_legacy_shader.webp" alt="decorative" /><br /><em>Legacy Transparent Shader</em></p> </div> </div> <h2>Performance</h2> <p>One thing we struggled with was performance. The brain model we used, which could be split into multiple parts had very highly detailed meshes. We alleviated this problem somewhat by doing a first pass of automatic mesh reduction. We didn’t have time to do a full re-topology, which causes a bit of lag when moving around the brain model. The Hololens is no slouch, but it clearly doesn’t match desktop grade PC graphics cards.</p> <h2>Voice Commands</h2> <p>This is one feature of the demo that was a walk in the park to implement, and that worked right out of the box. You just use the script provided in <a href="https://developer.microsoft.com/en-us/windows/holographic/holograms_101">Tutorial 101</a>, write the text version of the command, and add a handler for the command.</p> <h2>Unity and Visual Studio Tools</h2> <p>Here are a few workarounds for some errors in Visual Studio that we encountered while building the app:</p> <ol> <li>We had to periodically restart Visual Studio to prevent the <a href="http://stackoverflow.com/questions/36384375/dep0001-unexpected-error-1988945906-while-deploying-windows-uwp-app-to-phone">DEP0001 deployment error</a>.</li> <li>We had a SerializationWeaver tool error. Make sure your Unity project name <a href="http://forums.hololens.com/discussion/874/solved-sudden-trouble-building-app-metafile-first-pass-dll-missing">has no spaces</a>.</li> </ol> <p>Also, make sure to follow all the configuration steps in <a href="https://developer.microsoft.com/en-us/windows/holographic/holograms_100">Tutorial 100</a>. Some steps are missing from <a href="https://developer.microsoft.com/en-us/windows/holographic/holograms_101e">Tutorial 101E</a>. The problem we had when configuring a new project was that our application was not getting maximized on start-up.</p> <h2>Links</h2> <p>Here are a few interesting links:</p> <ul> <li><a href="http://www.gdcvault.com/play/1023652/Building-3-Dimensional-UI-for">Building 3-Dimensional UI for VR</a>.</li> <li><a href="https://www.packtpub.com/game-development/unity-virtual-reality-projects">Unity Virtual Reality Projects</a>.</li> </ul> <h2>Conclusion</h2> <p>I hope these tips help you clear a few hurdles in this otherwise amazing technology that Microsoft has provided to us.</p> <p>Happy coding!</p>
Want to Work Together?
Every great project starts with a conversation.