Creating and configuring a Windows service with TopShelf and Ninject

The following article explains how to easily create and configure a Windows service with TopShelf and Ninject dependency injection.TopShelf is a NuGet package that allows you to encapsulate a classic console application in a Windows service.Ninject, which is also a NuGet package, is an IoC container that allows you to implement the dependency injection.

The following article explains how to easily create and configure a Windows service with TopShelf and Ninject dependency injection.
TopShelf is a NuGet package that allows you to encapsulate a classic console application in a Windows service.
Ninject, which is also a NuGet package, is an IoC container that allows you to implement the dependency injection.
Step 1: Create a console application project and download the packages through the management console.
PM > Install-Package Topshelf
PM > Install-Package Topshelf.Ninject
Step 2: Define one or more service interfaces and implement the services that the Windows service depends on.
namespace TopShelfWindowsService.Services
{
    public interface IMyService
    {
        void DoWork();
    }
}
public class MyService : IMyService
{
    public void DoWork()
    {
       //Do something
    }
}
Step 3: Implement a ModuleNinject inheriting module to save the concrete classes implementing the interfaces used for injection.
I recommend the Singleton lifecycle for objects.
using Ninject.Modules;
using TopShelfWindowsService.Services;

namespace TopShelfWindowsService
{
    public class IocModule : NinjectModule
    {
        ///
/// Bind Interfaces to implementations for dependancy injection /// public override void Load() { Bind
Step 4: Implement the Windows service by deriving from the ServiceControl interface in the TopShelf name space.
I also suggest implementing a timer to trigger service execution every few seconds, making sure that one service is executed at a time, thanks to the static class Monitor.
When deriving from the ServiceControl interface, you must implement the Start and Stop services.
using System.Threading;
using System.Timers;
using Topshelf;
using TopShelfWindowsService.Services;
using Timer = System.Timers.Timer;

namespace TopShelfWindowsService
{
    public class MyWindowsService : ServiceControl
    {
        private Timer _syncTimer;
        private static object s_lock = new object();
        private IMyService _myservice;

        ///
/// Constructor /// /// public MyWindowsService(IMyService myService) { _myservice = myService; } ///
/// Starts the windows service /// /// ///
/// Stops the windows service /// /// ///
/// Job runner event, with lock if the job still running /// /// /// private void RunJob(object state, ElapsedEventArgs elapsedEventArgs) { //Prevents the job firing until it finishes its job if (Monitor.TryEnter(s_lock)) { try { _myservice.DoWork(); } finally { //unlock the job Monitor.Exit(s_lock); } } } } }
Step 5: Implement the entry point at Windows service launch in an application console with TopShelf.
This is where we set parameters for the use of the Ninject dependency injection, the name of the Windows service, its description, etc.
using Topshelf;
using Topshelf.Ninject;


namespace TopShelfWindowsService
{
    class Program
    {
        static void Main(string[] args)
        {
            HostFactory.Run(x =>
            {
                x.UseNinject(new IocModule());

                x.Service(s =>
                {
                    s.ConstructUsingNinject();
                    s.WhenStarted((service, hostControl) => service.Start(hostControl));
                    s.WhenStopped((service, hostControl) => service.Stop(hostControl));
                });
                x.RunAsLocalSystem();
                x.SetDescription("Prototype .NET TopShelf Windows Service");
                x.SetDisplayName("Prototype_TopShelf_and_Ninject");
                x.SetServiceName("Prototype_TopShelf_and_Ninject");
            });
        }
    }
}
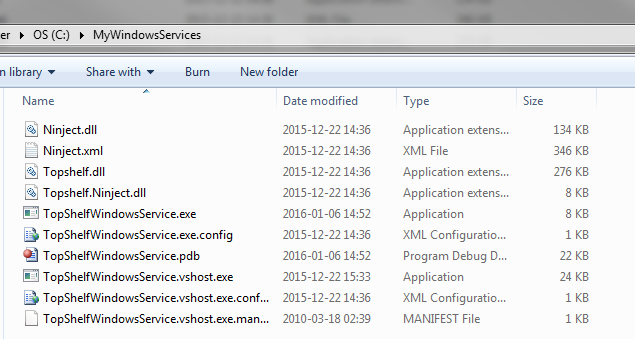
Step 6: Execute Windows service.
Once the Windows service is up and running, deposit the config file, the .dll, and the .exe generated at compilation in a folder on your machine.
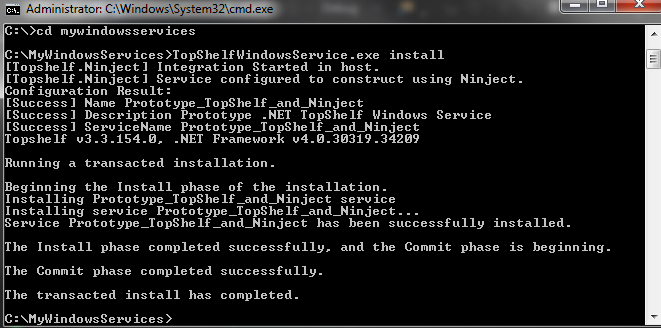
Then, on the command line, go to this folder and launch installation as follows:
name_of_executable.exe install
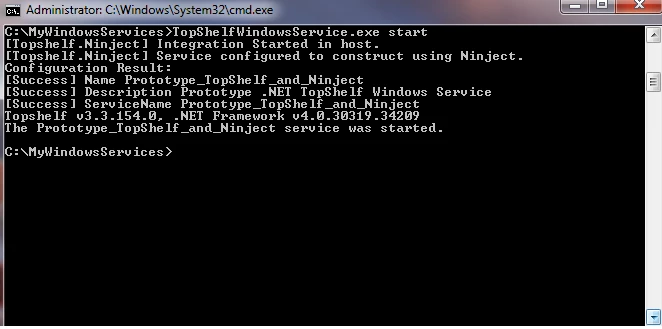
To start it, proceed as follows:
name_of_executable.exe start
You can also stop the service and uninstall it:
name_of_executable.exe stop
name_of_executable.exe uninstall
Examples: